Before replacing a shower head, assess pipe condition for an easier process; gather essential tools tailored to your model, including adjustable wrenches, protective gear, and workspace. Consult hardware staff for detailed guidance on thread size, O-rings, and removal techniques to avoid damage. For stubborn heads, use a removal tool, rubber gloves, towels, and a matching new shower head.
Tired of dealing with a stubborn, old shower head? Learn how to replace it without damaging your pipes with this step-by-step guide. First, assess the situation: identify your shower head type and gather the right tools, including pliers, sockets, and teflon tape. Protect your pipes and work area to avoid any accidents. We’ll walk you through each process, from understanding connections to secure installation, ensuring a smooth transition to your new shower experience.
- Assess the Situation and Gather Tools
- – Identifying the type of shower head
- – Necessary tools for removal
Assess the Situation and Gather Tools
Before you begin, take a moment to assess the situation and gather the necessary tools. This step is crucial in ensuring a smooth and successful shower head replacement process. First, evaluate the condition of your pipes. If they look intact and undamaged, you’re in luck—the job will be easier. However, if rust or corrosion is evident, proceed with caution as these signs might indicate weaker pipe structures that require special attention to avoid further damage.
For a successful How to Replace a Shower Head, prepare your toolkit accordingly. You’ll need basic plumbing tools like adjustable wrenches, pliers, and possibly a shower head removal kit specific to your fixture’s design. Don’t forget protective gear such as gloves to shield your hands from potential sharp edges or rusty pipes. Ensure you have enough space to work comfortably around the shower area for a hassle-free experience.
– Identifying the type of shower head
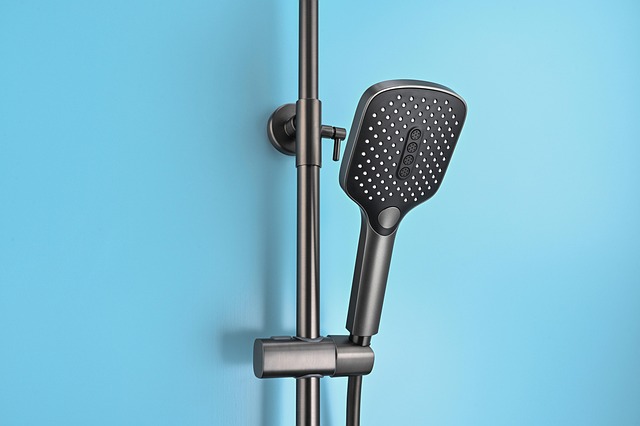
When replacing an old shower head, the first step is identifying its type. Different shower heads have varying installation mechanisms. Some are simple thread-on models that can be unscrewed with a wrench or pliers. These are often found in older fixtures. More modern shower heads might use a bayonet-style attachment, where you twist and push the head into place. Others may require an adhesive or sealants to secure them. Understanding your specific shower head design is crucial for knowing how to remove it without causing damage.
For accurate How to Replace a Shower Head guidance, take note of the threads’ size and pitch, as well as any additional components like O-rings or washers. These details will help you source the right replacement parts. If you’re unsure, consult your local hardware store staff for expert advice that aligns with your specific shower head type.
– Necessary tools for removal

To successfully replace a stubborn old shower head without damaging your pipes, you’ll need a few essential tools. Start with a new shower head that matches your existing design and thread size. A wrench or pliers will be indispensable for unscrewing the old head; choose one that fits comfortably in your hand and provides a secure grip. Don’t forget to gather some rubber gloves, as this process can involve hot water and loose parts. For tougher removals, a shower head removal tool might prove useful; these are often designed with specialized grips and can help leverage the old head free without causing damage. Lastly, have some old towels nearby to catch any splashes or leaks during the replacement process.
Removing an old, stubborn shower head can seem daunting, but with the right knowledge and tools, it’s a straightforward process. By first assessing the situation and gathering the necessary tools, you’re well on your way to successfully replacing your shower head without damaging any pipes. Remember, proper preparation is key to a smooth and stress-free DIY project.