TL;DR: Learning about shower head components (face, aerator, connection) is key to replacing it like a pro, avoiding compatibility issues, and enhancing water pressure. Gather tools like adjustable wrenches, screwdrivers, and a bucket before starting. Follow a simple guide: turn off water, remove old head, thread new one clockwise, open shut-off valve, and check for leaks. Master this How to Replace a Shower Head process for an improved shower experience.
Say goodbye to disappointing low water pressure! This comprehensive guide will teach you how to replace your shower head like a pro. Learn the ins and outs of understanding your current model and its components, then prepare with the right tools and materials. Follow our step-by-step instructions for a seamless installation, ensuring optimal water flow and an enhanced shower experience. Discover the secrets to a successful DIY shower head replacement.
- Understanding Your Shower Head and its Components
- Preparing for the Replacement: Tools and Materials You'll Need
- Step-by-Step Guide to Installing a New Shower Head
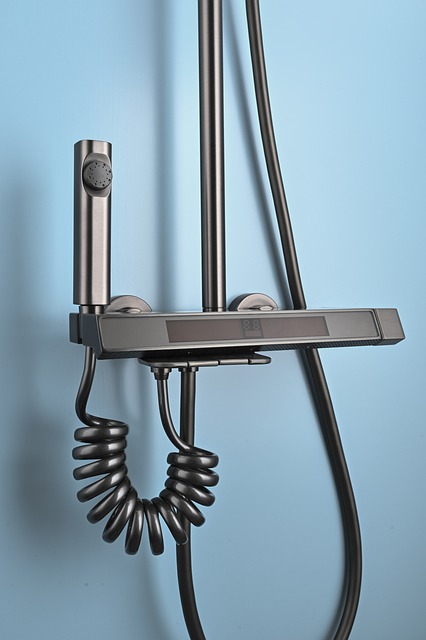
Understanding Your Shower Head and its Components
Shower heads are composed of several key components, understanding which will help you replace your shower head like a pro. The primary parts include the face, which is the visible part that disperses water; the aerator, responsible for mixing air and water to create a balanced flow; and the connection mechanism, usually made up of threads or quick-connect fittings, allowing you to attach it to your shower arm. When replacing a shower head, knowing these components will help identify any compatibility issues and ensure you select a suitable replacement that fits seamlessly into your existing setup.
Learning how to replace a shower head involves recognizing these parts and understanding their functions. With this knowledge in hand, you’ll be ready to tackle the process with confidence, ensuring improved water pressure during your next shower.
Preparing for the Replacement: Tools and Materials You'll Need

Before you begin replacing your shower head, make sure you have all the necessary tools and materials on hand. This will ensure a smooth and successful installation process. Here’s what you’ll need:
1. New shower head of your choice (consider flow rate and style)
2. Adjustable wrench or pliers for gripping and turning fasteners
3. Screwdriver, if your shower head requires one for removal
4. Water shut-off valve key or tool (to turn off the water supply to the shower)
5. Bucket or tray (to catch any residual water while working)
6. Rag or towel (for wiping down surfaces and collecting drips)
Step-by-Step Guide to Installing a New Shower Head

Replace your shower head with ease by following this simple step-by-step guide. First, gather your tools: an adjustable wrench or pliers, and your new shower head. Turn off the water supply to your shower by locating and closing the main shut-off valve beneath the sink or in your utility room. This ensures no water leaks while you work. Next, remove the old shower head by unscrewing it counterclockwise using your tool of choice. Be sure to catch any remaining water in a bucket or towel. Once the old head is removed, thread the new shower head onto the shower arm in a clockwise direction until it’s securely in place. Finally, open the shut-off valve and check for leaks. If there are none, you’ve successfully installed your new shower head and can enjoy an improved shower experience.
Tired of your low water pressure shower? It’s time for a simple, DIY upgrade! With the right tools and our step-by-step guide, replacing your shower head is easier than you think. Say goodbye to weak flows and hello to a refreshing, full-force spray. By following these steps, you’ll have a new, high-pressure showerhead installed in no time, leaving you with a spa-like experience in the comfort of your own home.